How To Make Easy Burlap Feathers
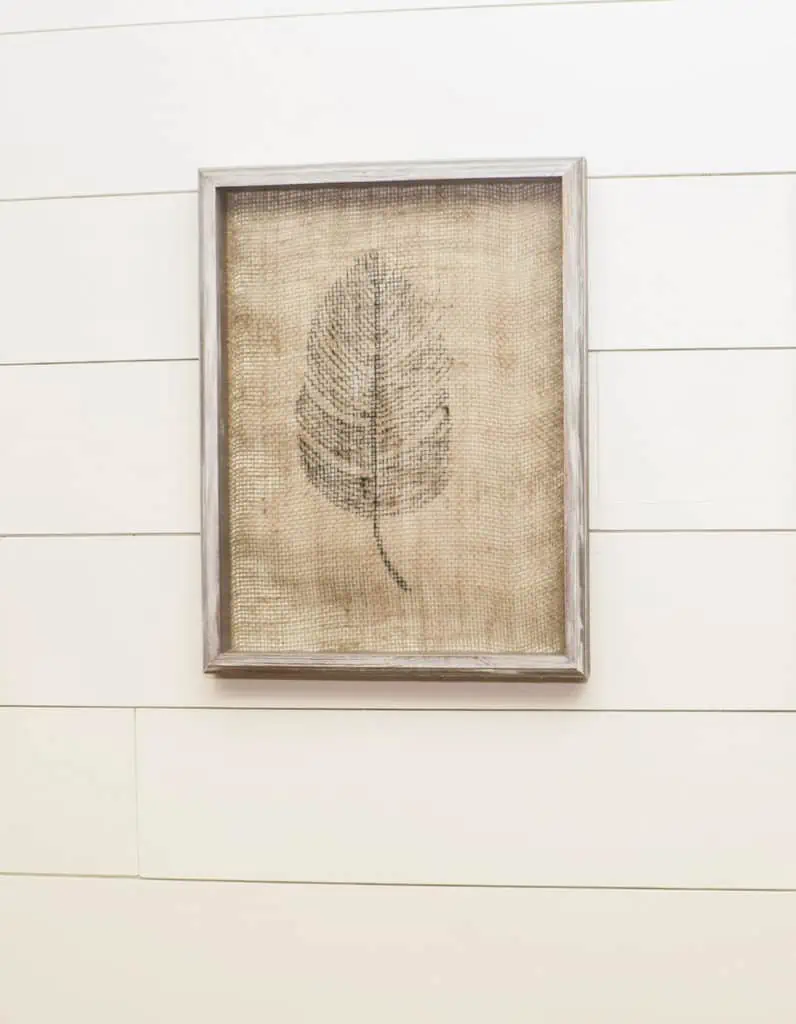
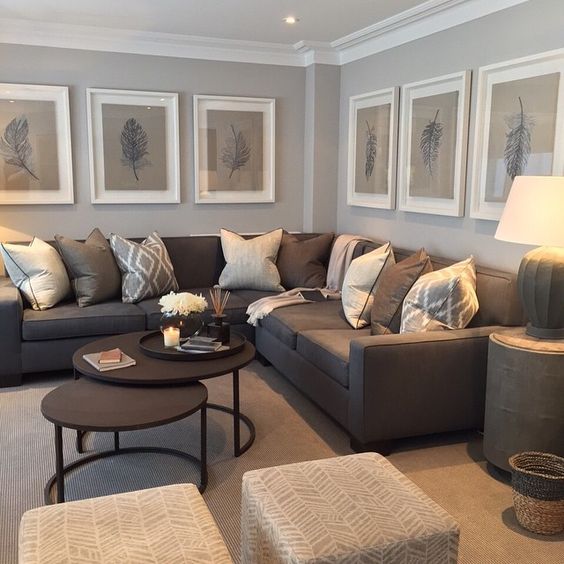
Years ago, I saw these beautiful, framed feathers on Pinterest and wanted to make something similar for our family room. So I decided I would make my own version of this feather artwork! These easy Burlap Feathers turned out to be quite simple and quick, especially with the Free Feather Printable!
*Do not own rights to this photo
Disclosure: This post contains affiliate links for your convenience. We may receive a commission if you click a link at no additional cost to you. As an Amazon Associate, we earn from qualifying purchases. Please check out our privacy policy for more details.
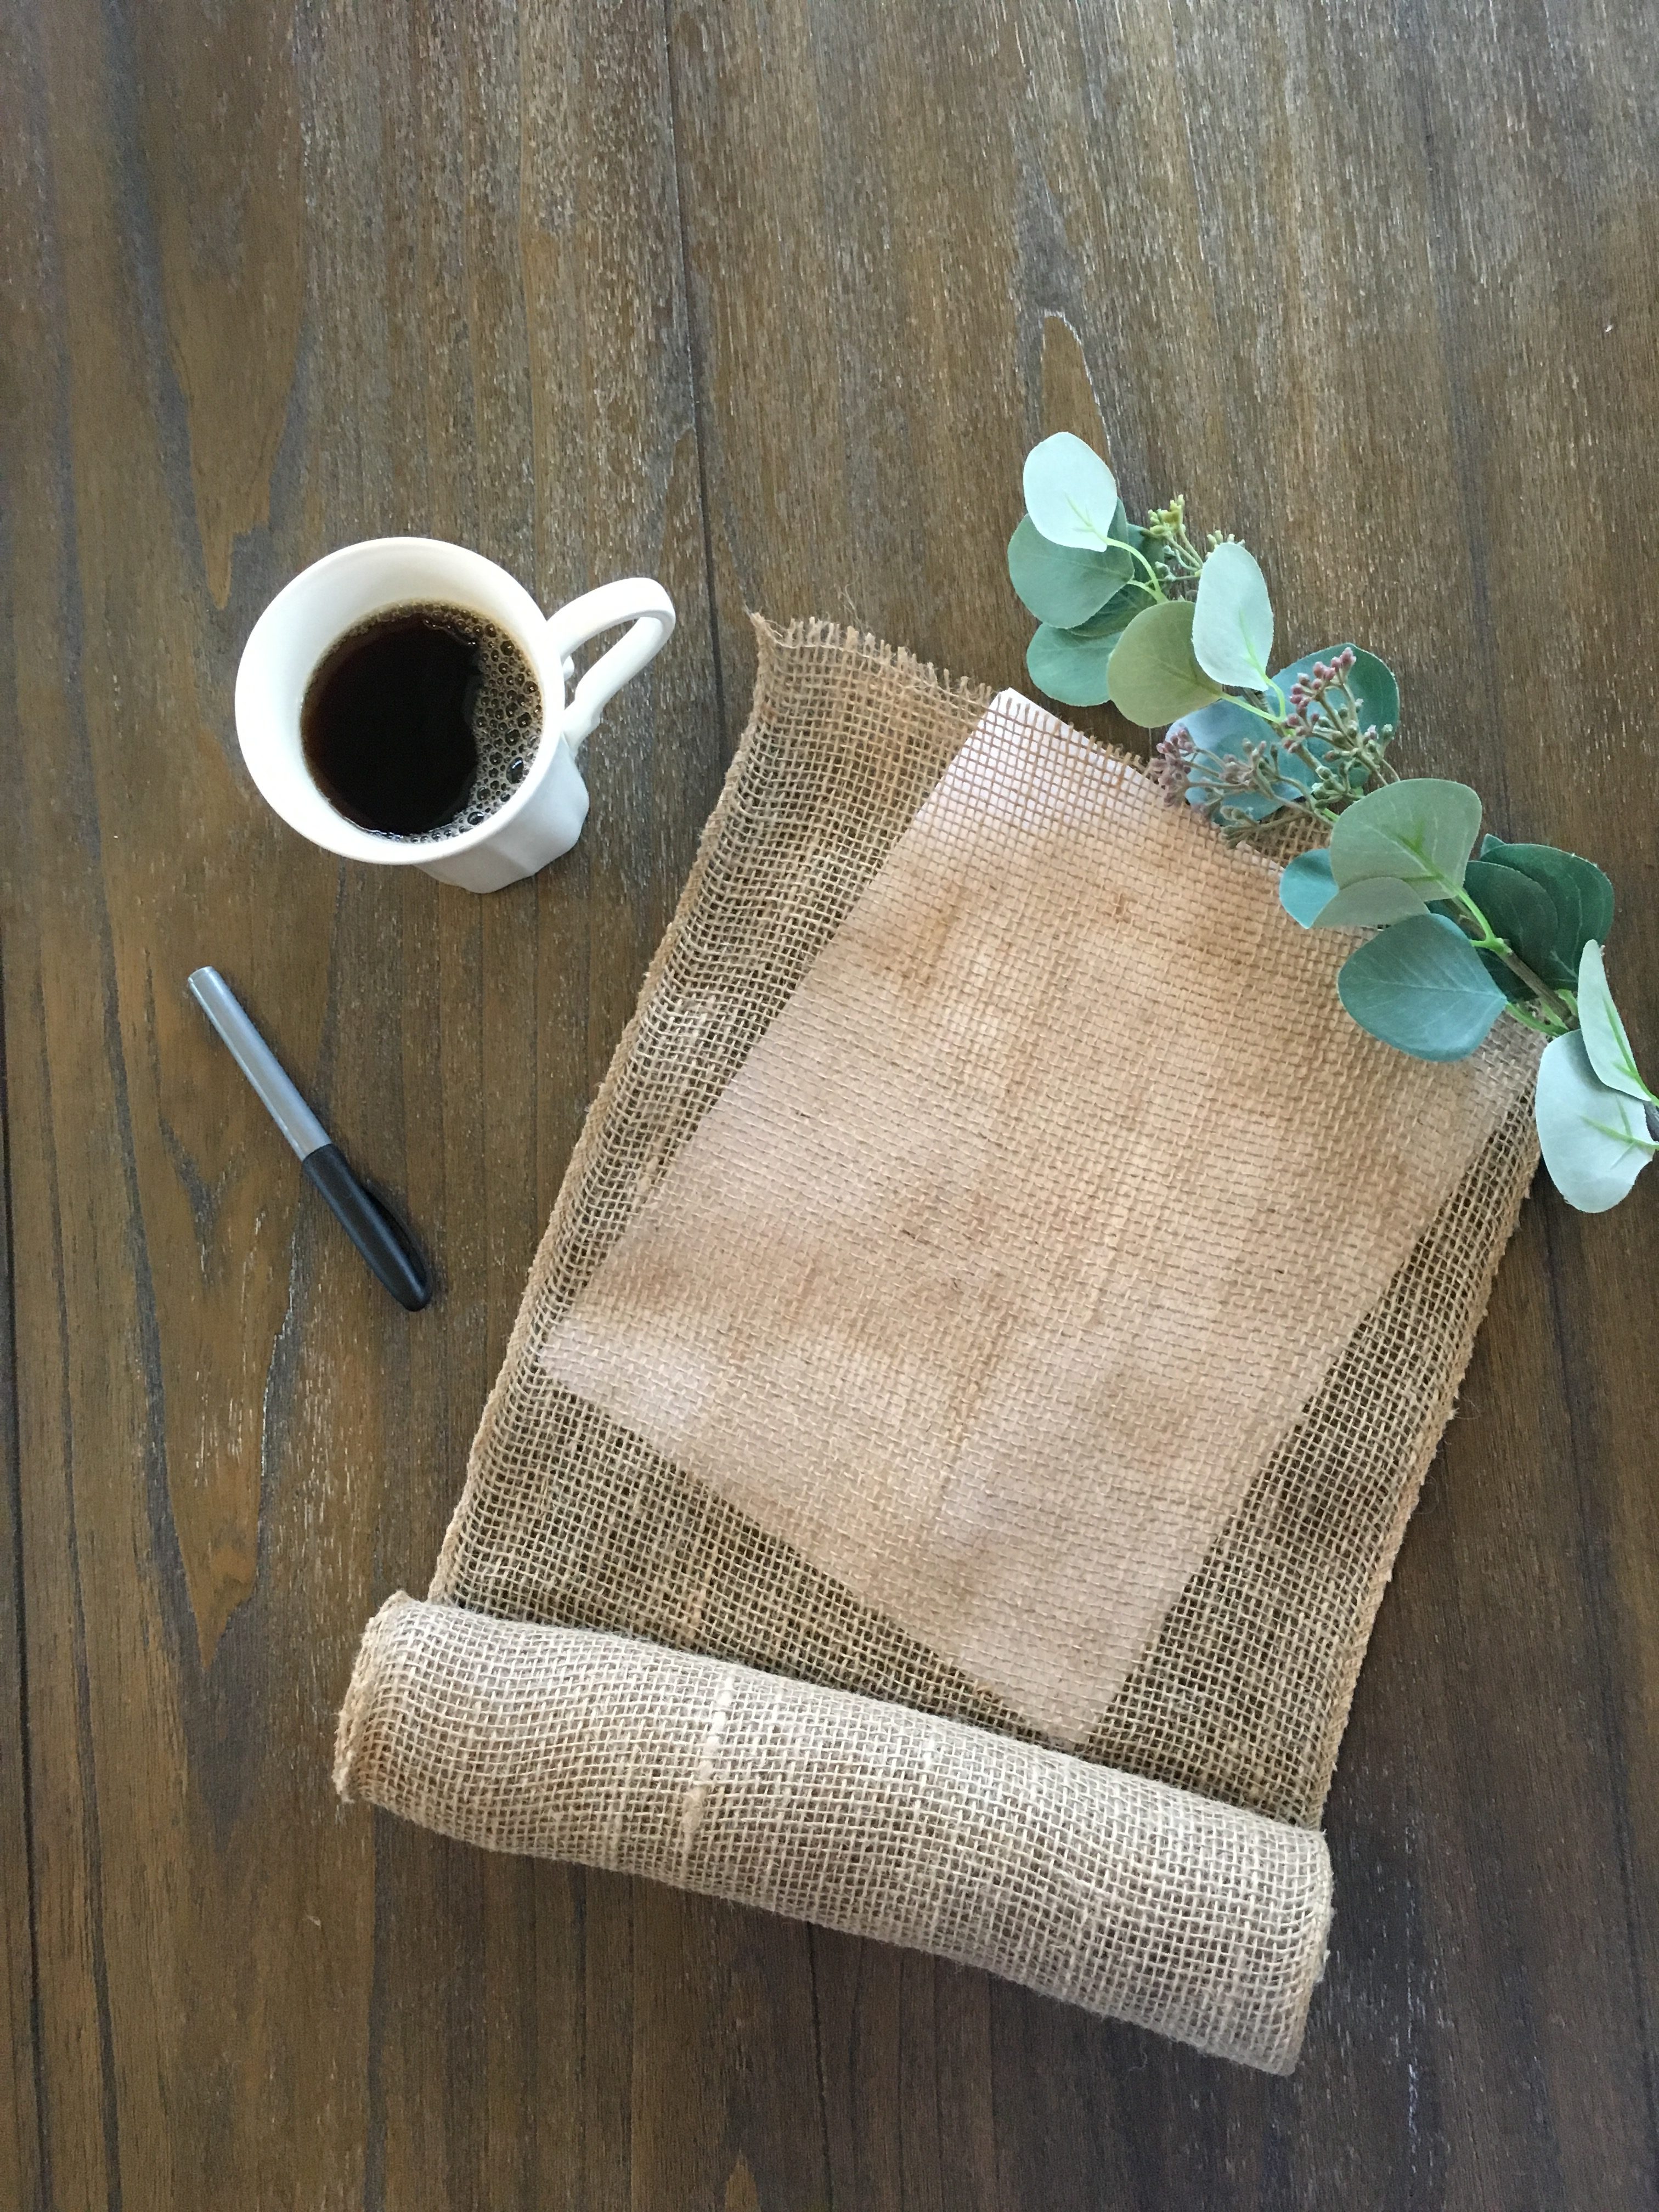
I don’t know about you, but I don’t like paying for things I can make myself. Luckily, I had the burlap on hand and you can find the same burlap here.
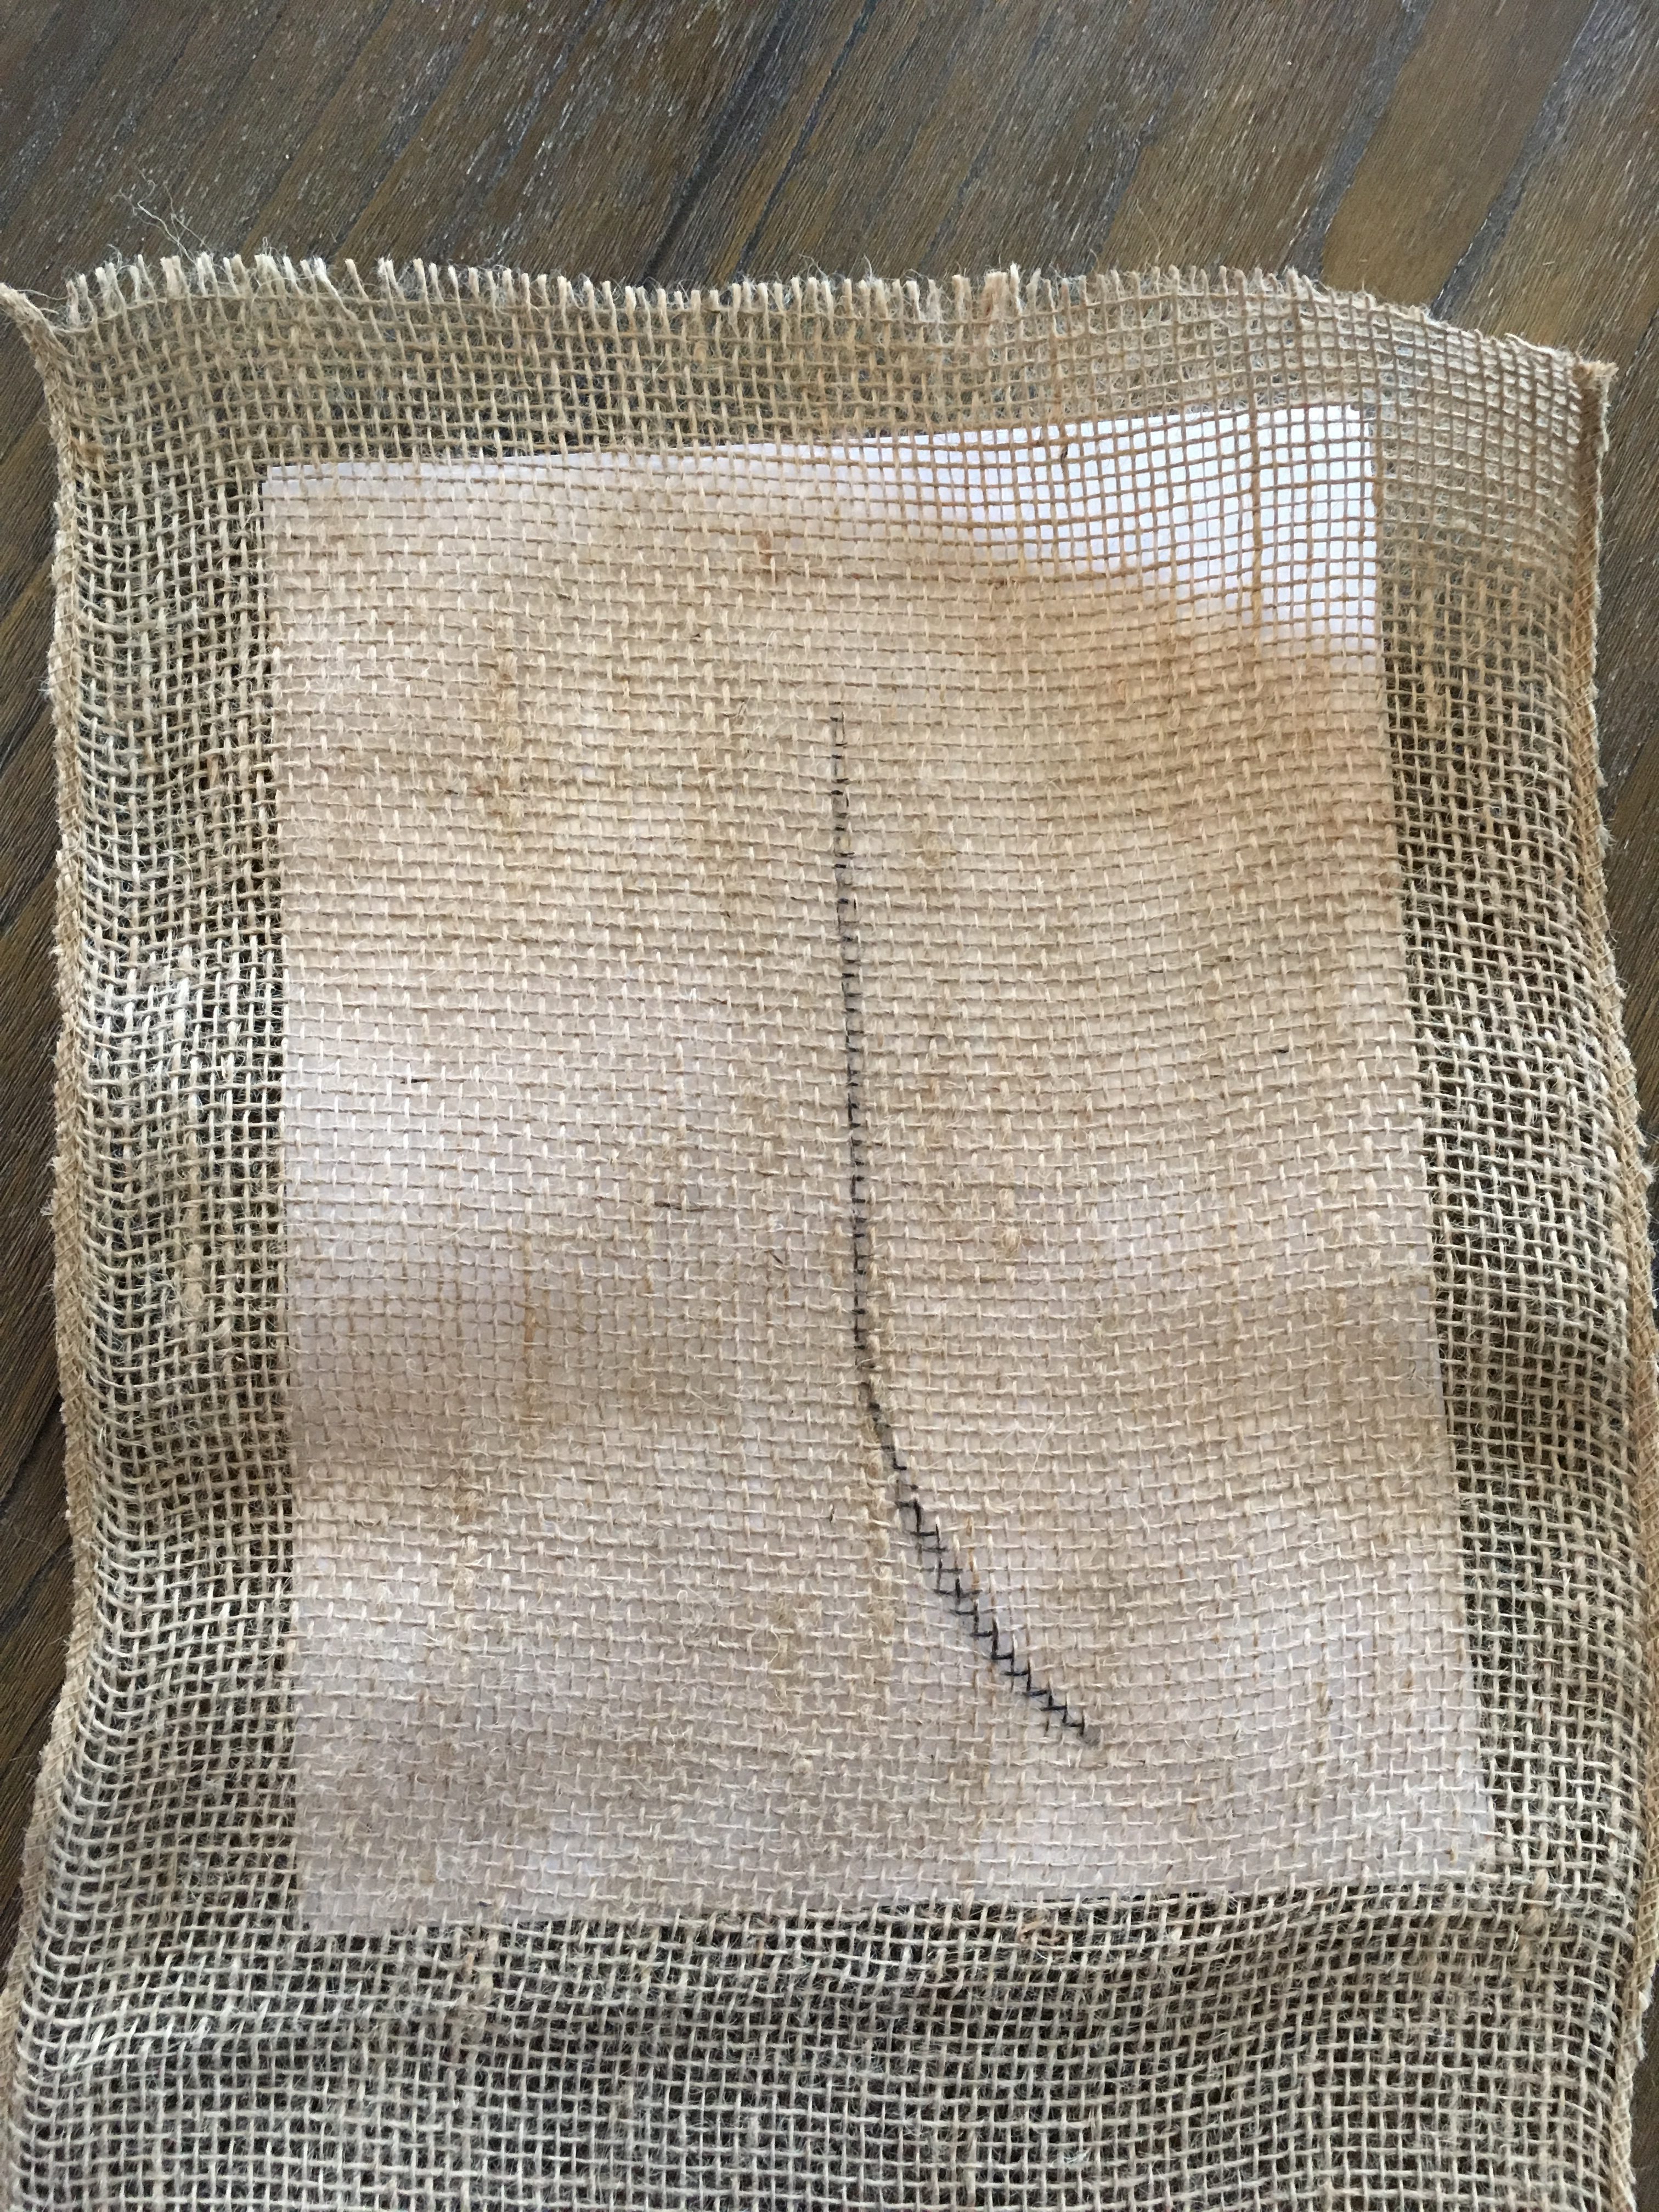
The burlap I used is 5 ounces. What this means is that it doesn’t have a tight weave. Which makes it easy to copy a picture if you know what you’d like to design. With the 5 oz burlap, you can simply print off what you want to draw and place the photo underneath your burlap. Trace, done!
Tip: The more ounces a burlap fabric is, the tighter the weave is which makes it more difficult to trace/see a picture underneath the fabric.
Things you’ll need:
5 ounce burlap
Permanent marker
Print out of design you desire/Free Feather Printable
Picture frame (Frames pictured are 12X16)
I also did this with artwork for my son’s room. I printed out a baseball glove and placed it underneath the burlap. So, this made drawing a full baseball glove super simple.
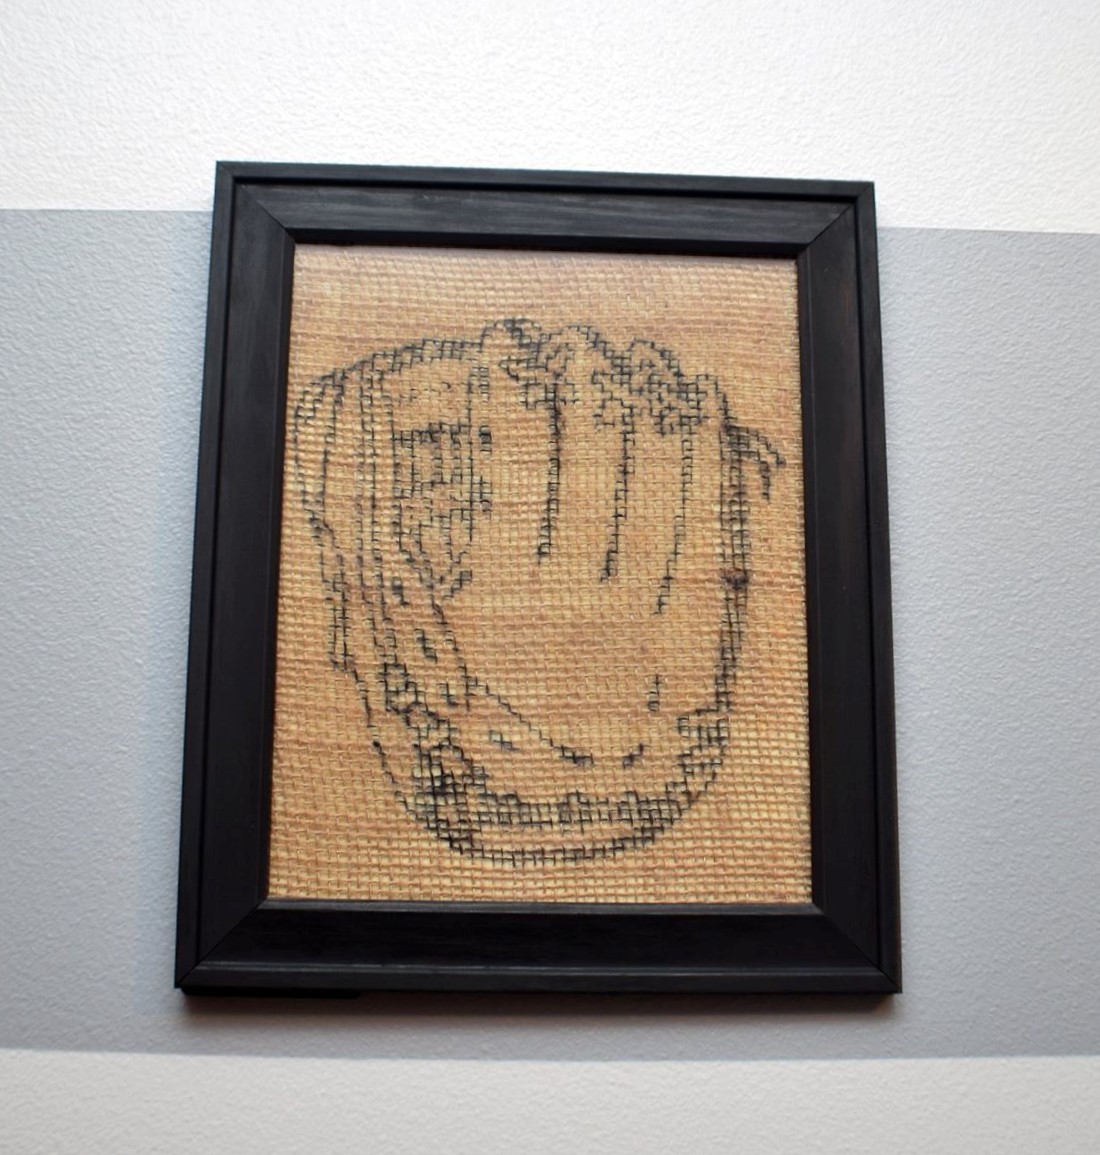
However, for the burlap feathers, I drew them freehand as they are quite a bit simpler than a baseball glove. If you’re not feeling that brave, grab the Free Feather Printables as a guide!
Not An Artist? No Problem!
If you decide to draw something freehand on this 5oz burlap, you will soon find out you do NOT need to be a great artist!
Since this burlap isn’t tightly weaved, you don’t have to be very detailed or really that accurate. So, it is a
Tip: If you are going to draw something freehand, make sure you place newspaper underneath your burlap, so you do not get permanent marker on your work surface.
Easy Burlap Feathers: Shaping
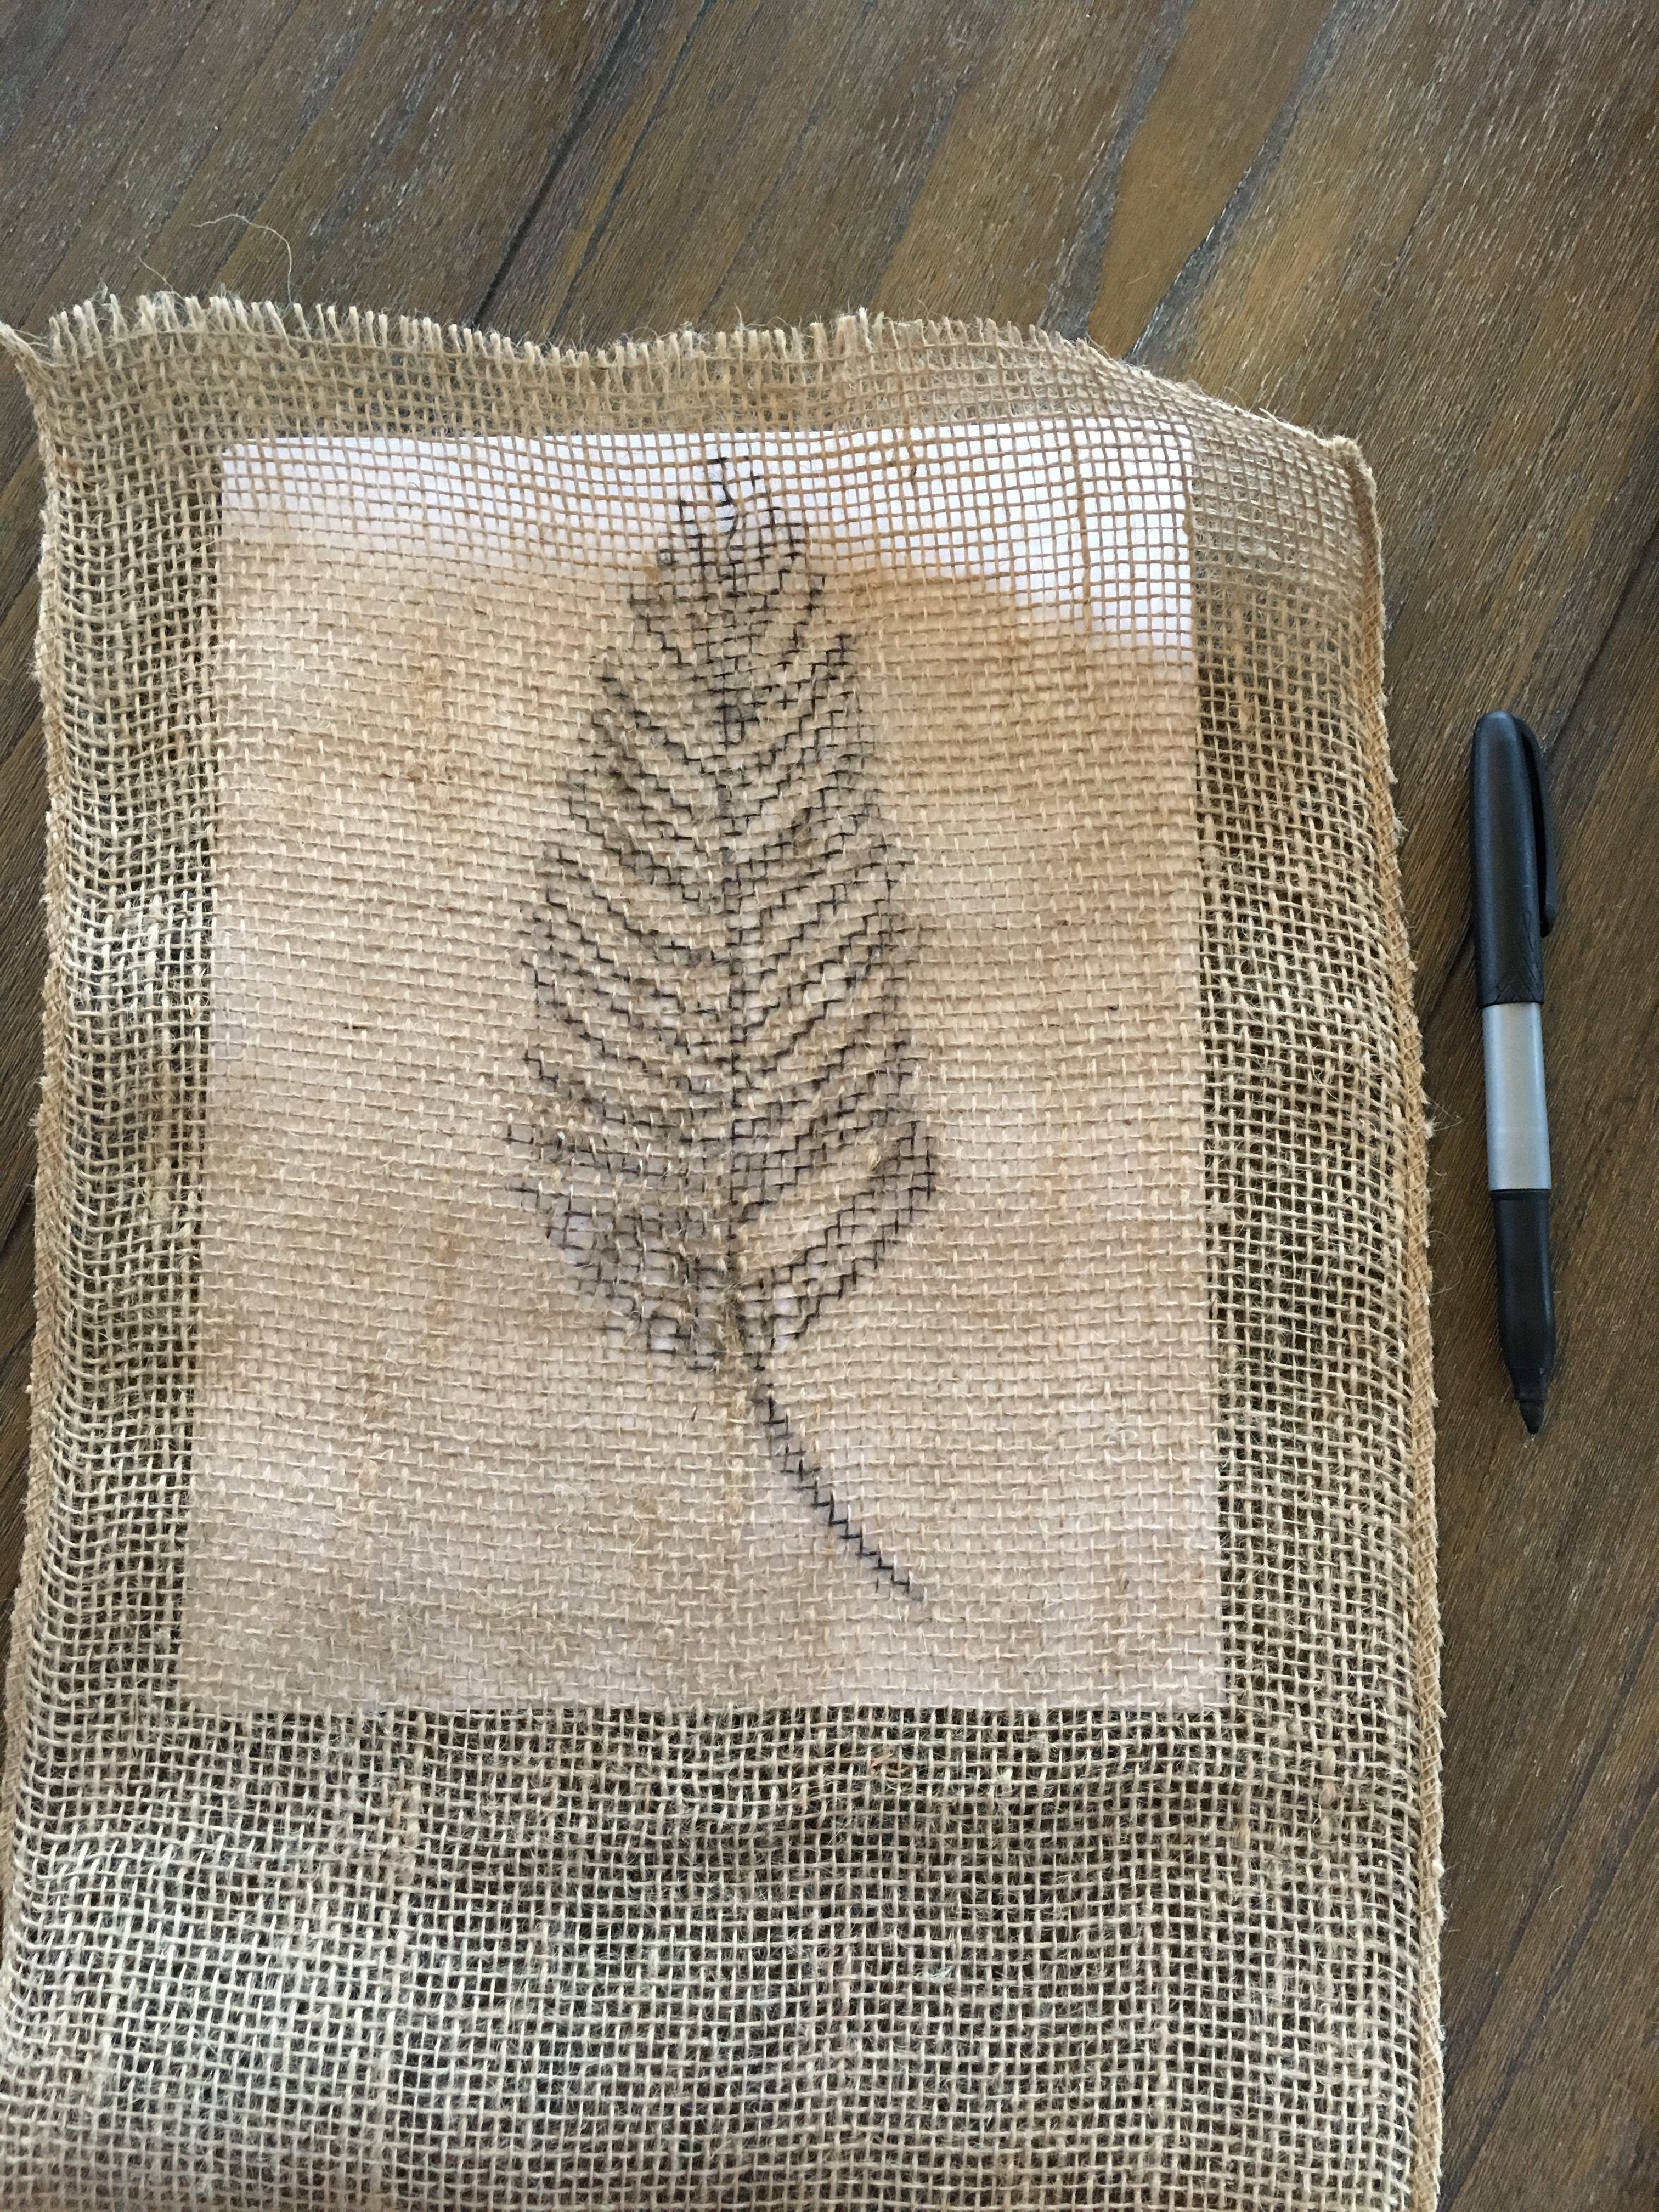
So for the feathers, I started by deciding what shape I wanted each feather to be. Once I decided, then I designed the shaft of the feather based on the look I wanted.
I wanted three feather photos and I didn’t want all three of the feathers to look the same since they were going to be side by side on the wall. So, I wanted them to look kind of symmetrical but not a mirror image by any means.
Once I drew the shaft of the feather, I really just filled in the hairs (are they hairs? Idk… we’ll go with it) of the feather. Also, I made sure some of them were a little out of place to help make them look more natural.
Easy Burlap Feathers
As I mentioned, you can also do this by using a
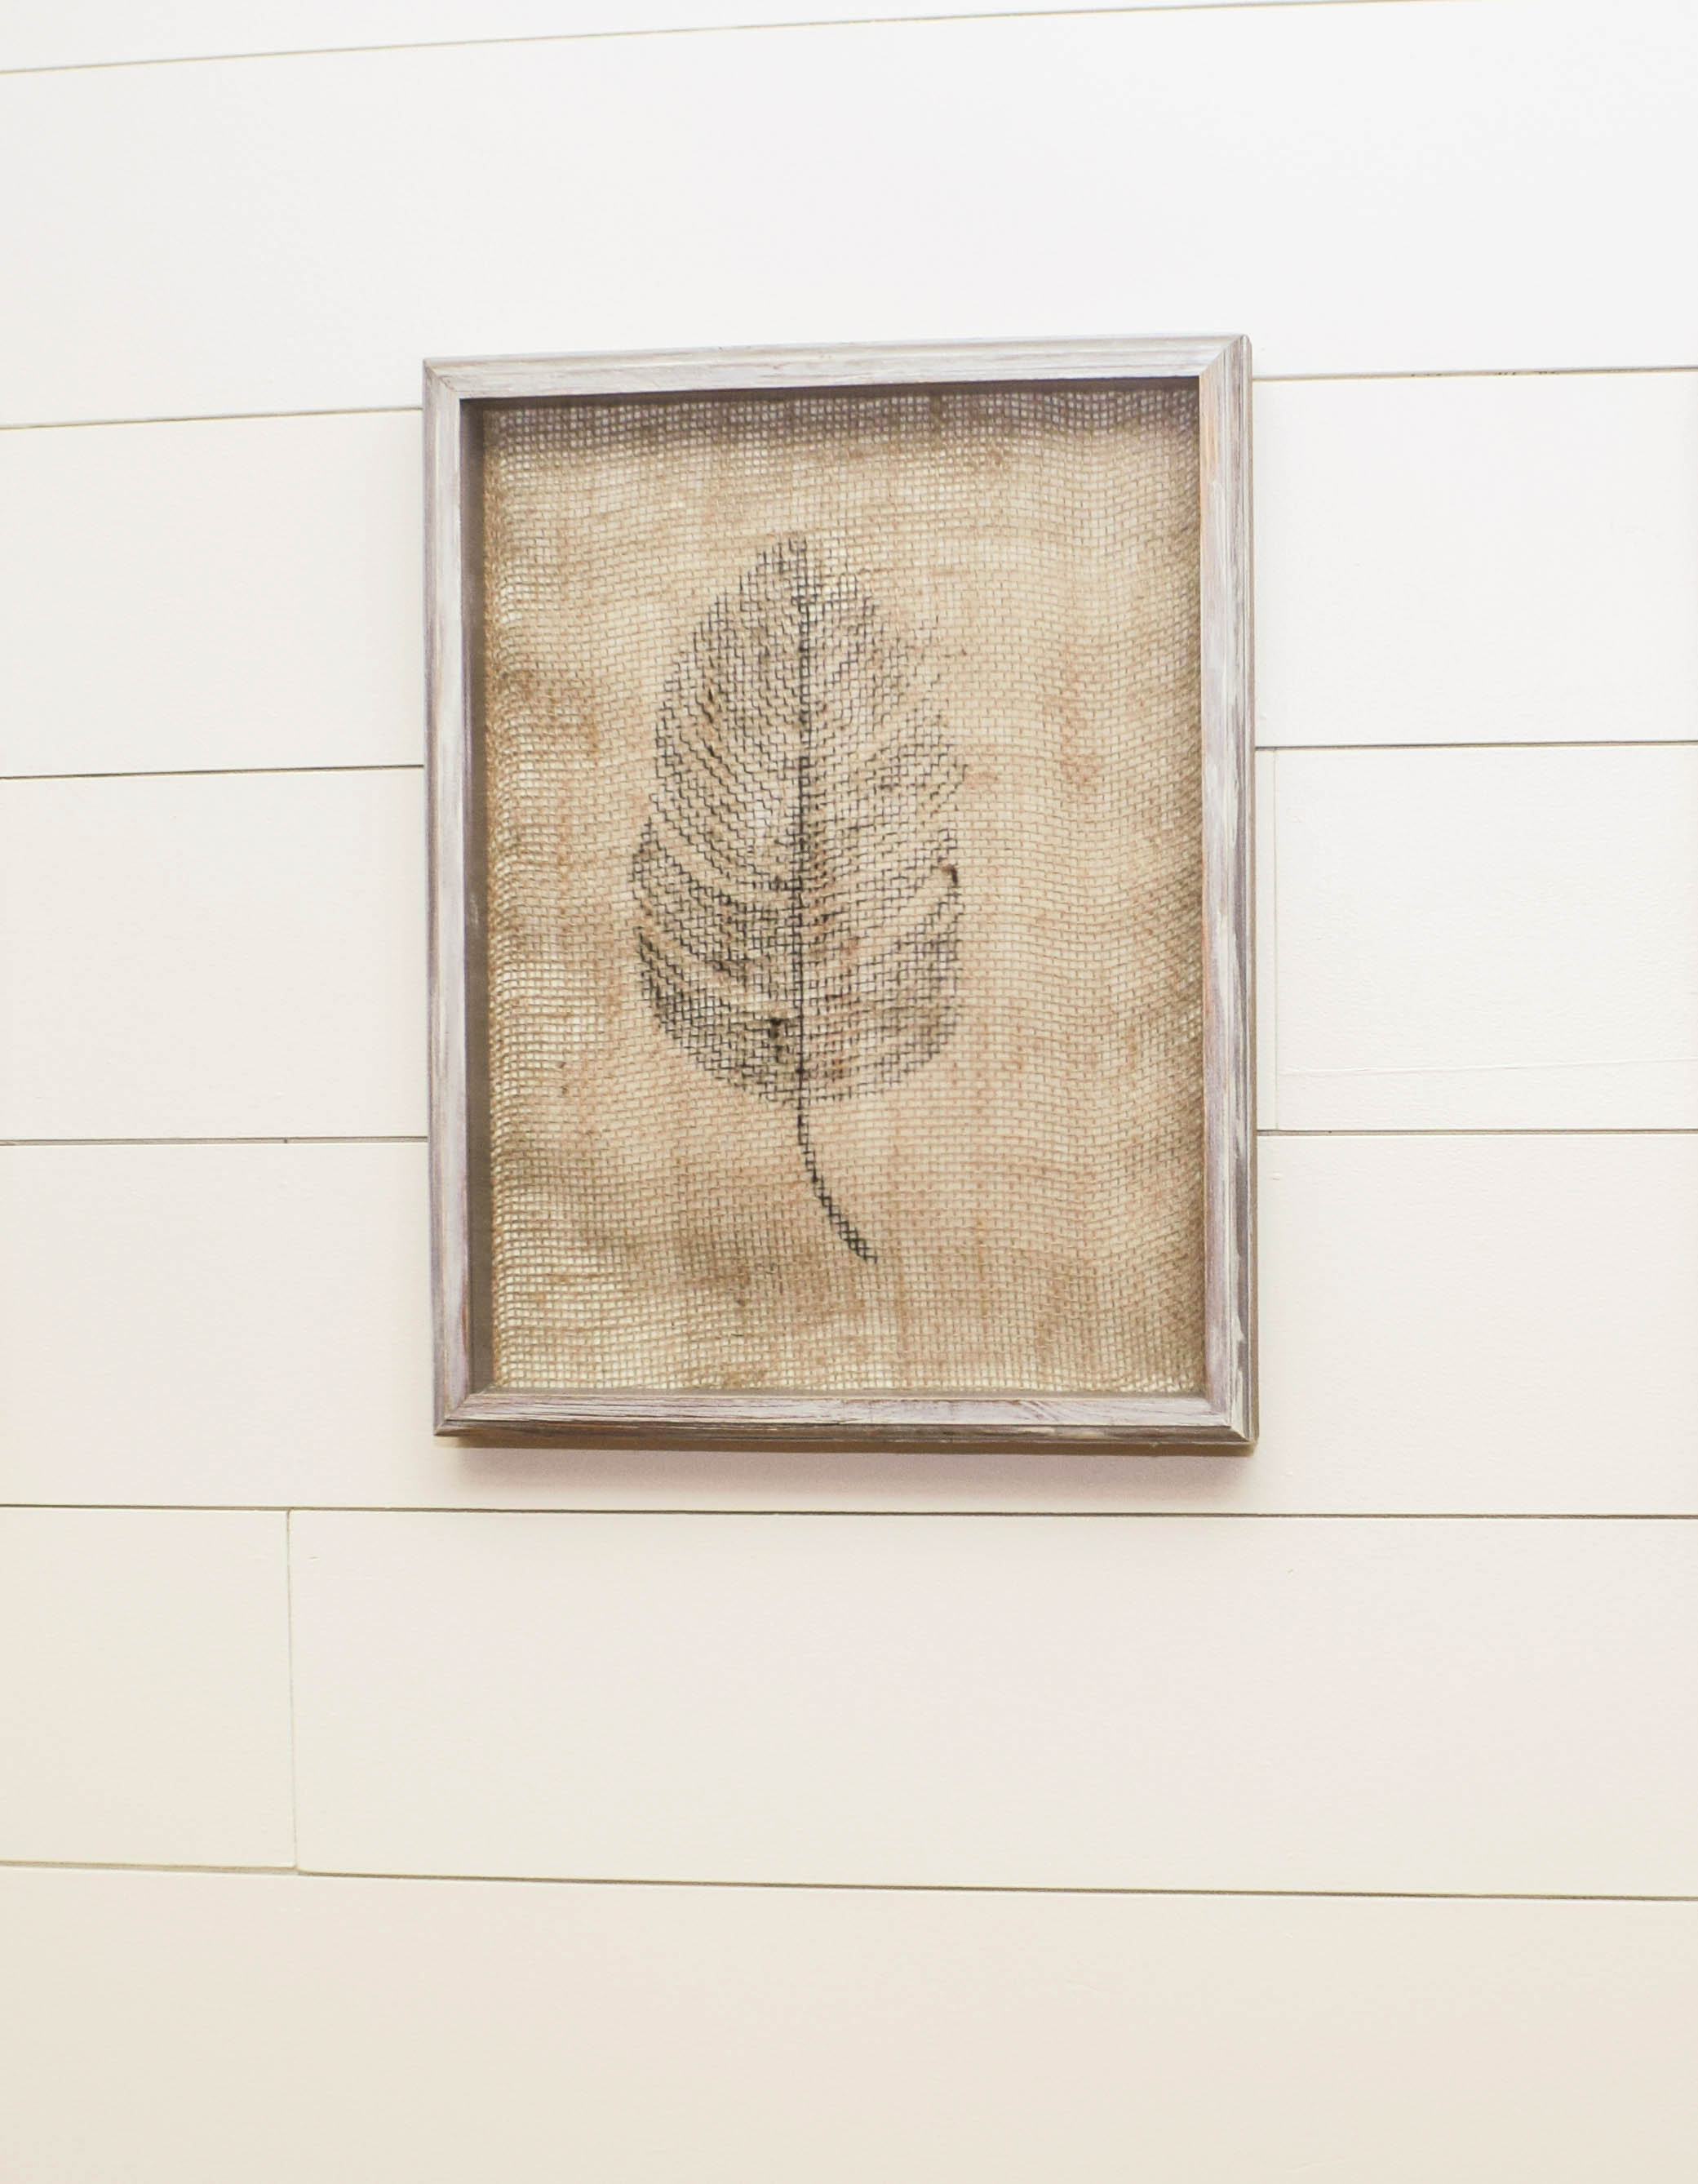
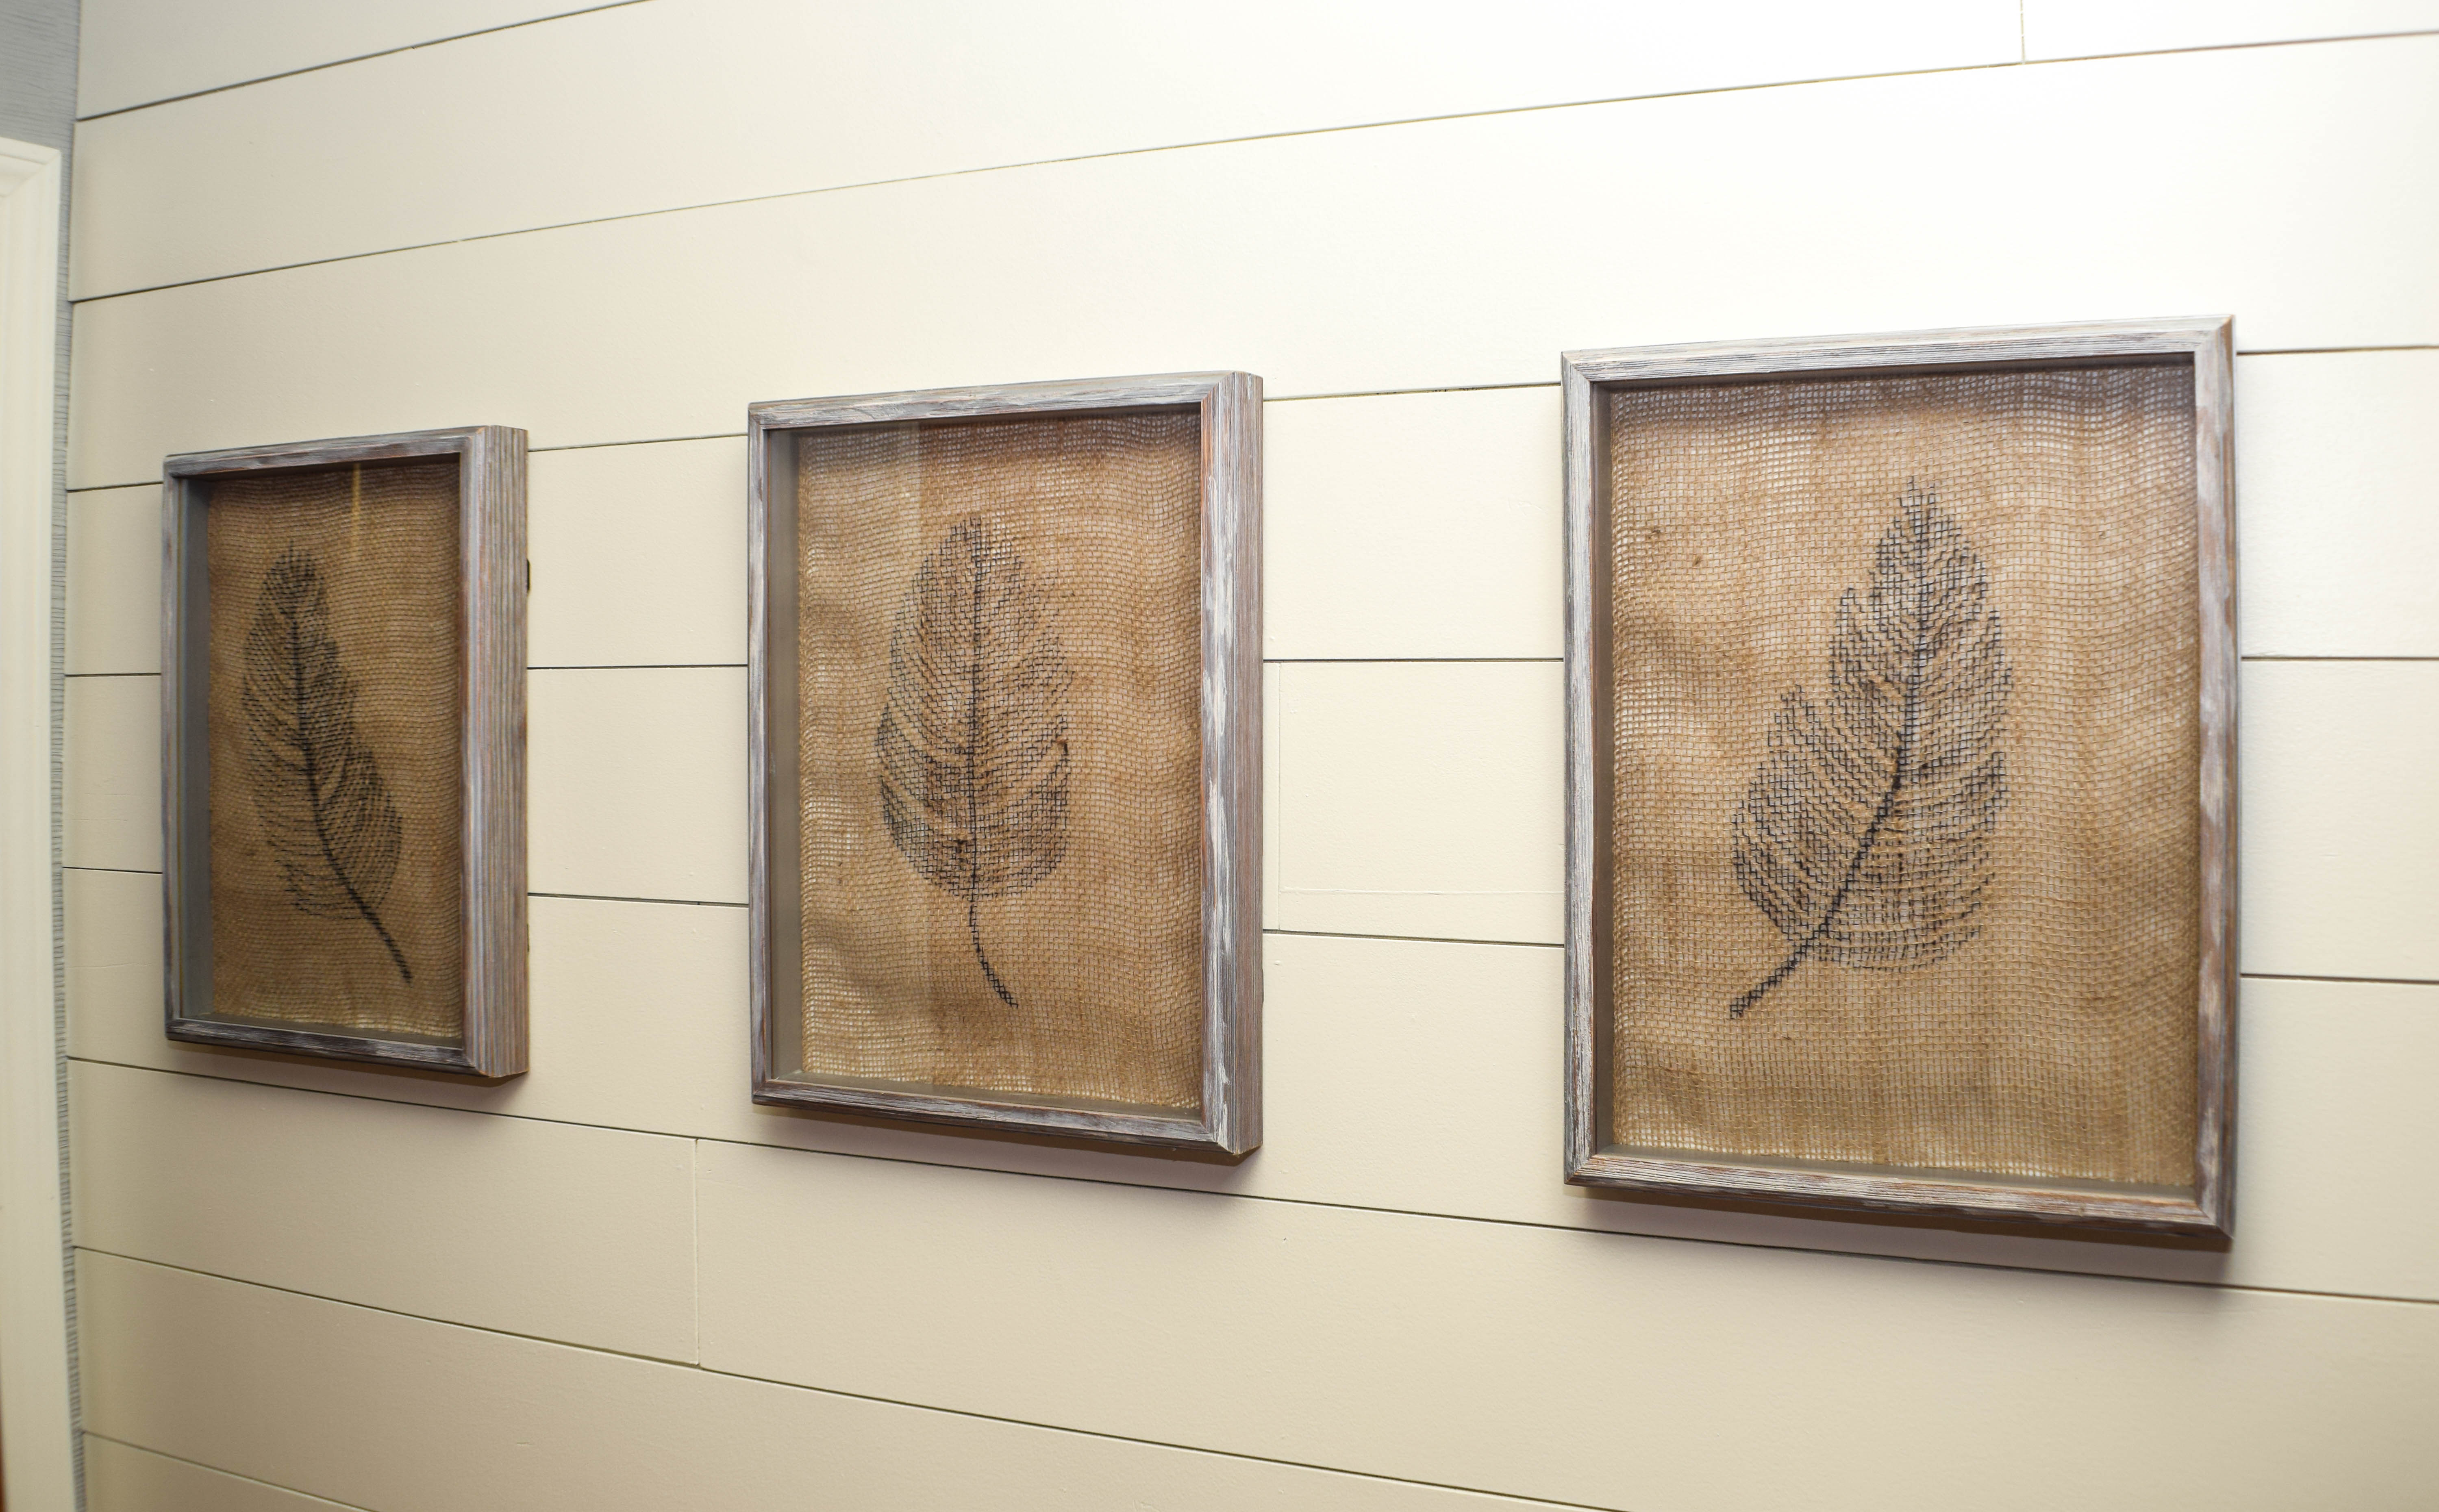
After the feather artwork was the way I wanted it, I cut the burlap about an inch bigger on each side than the frames I had purchased. This way, I would be able to keep the burlap taught in the frame. So, I found these super cute frames from Hobby Lobby’s website and loved their rustic feel.
Free burlap feather art printable
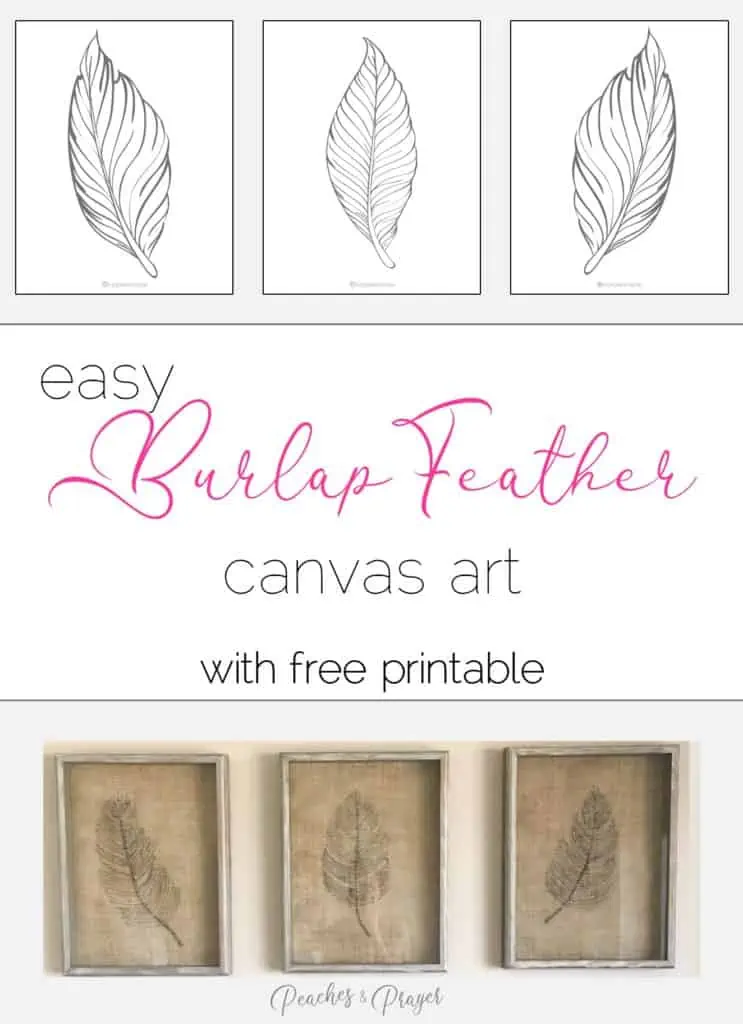
These feather printables come in 5×7 and 8×10. Once you download the printable, you will be able to pick from all three shapes for your own project’s needs.
Already a subscriber? Click here to download your printable now!
Conclusion
So, I am pretty happy with how they turned out! Now, we are in a different home and we have them hung in our formal entryway. I love the simple artistry of them.
Moreover, they are kind of a statement for the shiplap wall. Several people have asked me where I bought them, which is kind of shocking to me as they were so simple to make. And I drew them freehand!
Lastly, don’t forget to show me how your burlap art turns out! I can’t wait to see what you come up with…

Enjoy This? Share it for later!